
Have you ever wanted to sample one of your synthesizers and package the sounds as a playable sampler instrument?
There are several method to go about doing this, with the most tedious being playing the instrument yourself and chopping up the the recording, trimming and editing the resulting wave files. But the most popular way is by using a third party software to auto-sample the instrument. The most common ones are SampleRobot, AutoSampler or the newly added Autosampler in Logic Pro X 10.5. These solutions work well but are quite expensive for this single use case. Another major downside is that they work by recording the notes in real time, which means recording many patches can take a really long time.
This tutorial will help you create a workflow using Reaper and Python, which when set up will allow you to have a playable sampler instrument in under a minute.
Enter Reaper.
Reaper is a DAW that is slowly gaining traction and have become the standard for game audio sound design due to the power of extensions and automations. While the likes of Pro-Tools are locked down by design, Reaper allows for modifications and scripting. Not only is Reaper a more or less feature complete DAW, it comes at an unbeatable price compared to its competitors.
The most important tool in in your Reaper toolbox is a third party extension called SWS. (https://www.sws-extension.org) This adds a slew of added functionality and actions and allows you to create really complex macros.
For this tutorial we will create 2 custom action macros, the first being the main logic and the second a simple iteration of the first. Keep in mind that there are countless of ways to achieve the same results.
Recipe
What we aim to achieve is essentially what the other auto-sampler solutions are doing:
- Record “each” note as a separate audio file
- Name each file as the corresponding musical note name.
- Make a sample map that can be read and played by a sampler.
But instead of recording the results live, we will do an offline render which is usually at 50x real time speeds or so.
Step 1:
Create an instrument track and load the synthesizer you would like to sample.
Name the track to “MySynth” or whatever you would like to name your instrument.
Create a new midi item and draw in a single note at lowest register you would like/need for your instrument.
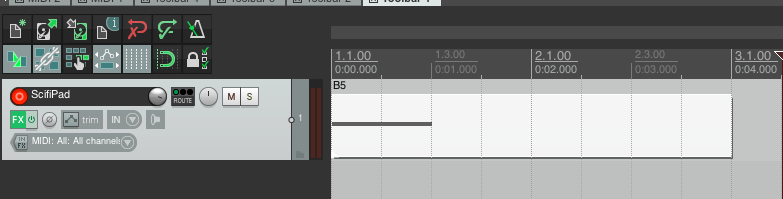
The length of the midi item will define the length of your samples so make sure it’s long enough to not cut the tail off, while still being as short as possible to avoid file size bloat.
Likewise the length of the midi not will define how long your note will sustain.
Step 2:
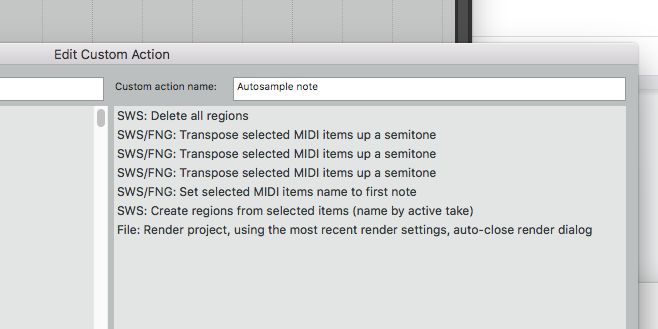
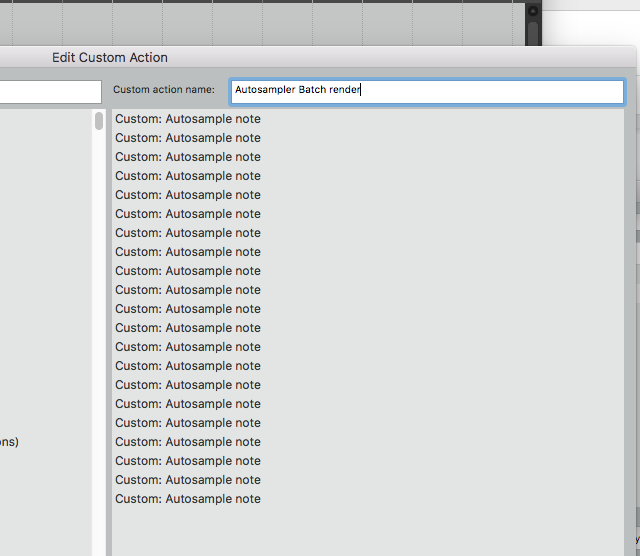
Open the Actions menu, and create a new Custom Action and name it to “autosample note” or what have you. We will now start adding actions into this macro. Keep in mind that this action will be designed to work in a loop.
First we make sure there are no regions currently in the project.
- Delete all regions
We start by transposing the note in the midi item up by two semitones. It is common when sampling an instrument to sample every third note and this is what we are mimicking here.
- Transpose midi note up by 1 semitone
- Transpose midi note up by 1 semitone
- Transpose midi note up by 1 semitone
We will need to name this MIDI item to the same name as the midi note we are sampling. Luckily an action like this already exists.
- Set selected MIDI item name to first note
Afterwards we create a new Region from said Item. Regions are normally used for batch rendering of files – when editing voice over for instance I often end up with 100’s of regions which can then be exported at once as separate audio files with individual names. The reason for this is that we can utilize that same Render Project Regions export setting to our benefit.
- Create region from selected items (name by active take)
Lastly we will need to Render the results.
- Action: Render project, using Project Render Settings, auto close render dialog.
At this point you might be inclined to test the result, but the action will not produce the correct result until you change the Project Render Settings to match our use case.
Step 3:
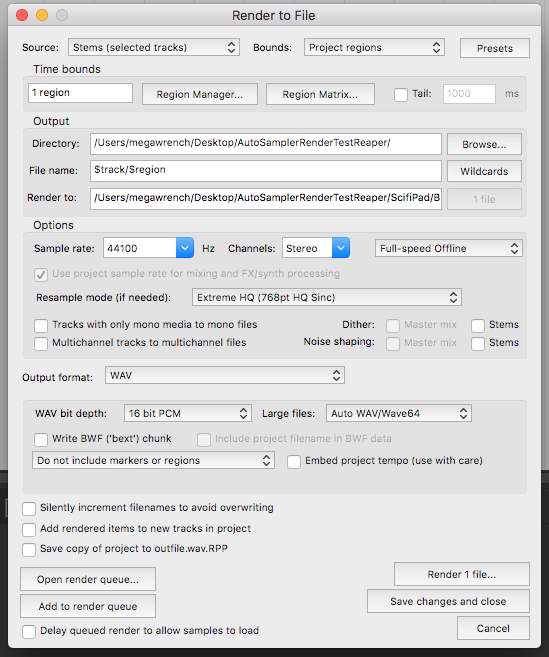
If you haven’t done so already, this would be the time to save your project. Open the Render dialog. The output directory defaults to the project location.
When naming the output file we will utilize the wildcards provided by Reaper – Mainly $track and $note
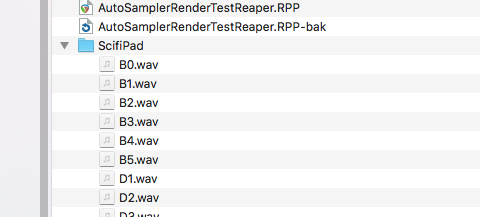
- Output file: $track/$region
The above will render the sounds to a folder with the same name as the track we created at step one, and the file will be named as the region (which in turn has been named to the note name). Your output will thus look something like PathToProject/MySynth/C#2.wav or similar.
Aside from getting the filename correct we will need to change the render settings at the very top to
- Source: Stems (selected tracks)
- Bounds: Project Regions
You can now press the button labeled “Save changes and close”
Step 4:
We are almost done! Go back into the Actions window and create yet another custom action. This one will simply repeat our main action a bunch of times. Keep in mind as we are only sampling every third note we need to add enough notes to fill up the whole range that we want to sample. So if we are starting at note 20 (technically 23 as it starts with a transpose) and want to sample up to say note 90 or so we would need to add our main action about 23 times.
Step 5:
Once this is all set up, make sure that the last thing you do is to select the track in question so that both the track and item gets highlighted. After that you can simply run the batch loop action we just created and within seconds you will have a folder with all your notes sampled. Seeing as these are note names, many samplers will auto assign them to the correct notes if you drag and drop them into the sampler.
Congratulations!
Summary / TL;DR
Using Reaper and the SWS extensions we made a workflow that batch renders the notes needed to create a sampler instrument. We created a midi item with a single midi note in the bass register, then using custom actions we transpose the note, create a region named as that note, and then render said region, naming it the same as the note name. Then the regions are cleared and the action is repeated X amount of times.
Next Up:
In the next part of this tutorial we will look into how we can utilise Python to automate the creation of a sound font in the sfz-format from the folder of rendered audio files.